Boyner Integration Marketplace
Boyner Integration Marketplace refers to a commerce model where various sellers can offer their products or services under the same roof, usually through online platforms. It hosts a large virtual shopping demand with daily millions of customer visits and clicks.
Marketplaces can help you reach a broader audience and sell your products through your e-commerce site. This can increase brand awareness, help gain loyal customers, and drive traffic to your e-commerce site.
You can achieve product integration with various marketplaces by using ConnectProf to pull your products through API or XML. ConnectProf serves as an integration platform that assists e-commerce businesses in managing and synchronizing their Boyner stores. With Boyner integration, businesses can automatically synchronize store inventories and product information through ConnectProf, allowing them to keep stock levels up-to-date and provide customers with accurate and current information.
Orders from Boyner can be easily managed through ConnectProf. Orders are automatically synchronized, providing businesses with quick visibility so that processes are streamlined and efficient.
ConnectProf API services enable businesses to present their products and services across different platforms and websites. This allows your customer base to reach wider and different platforms.
If you want to set up Boyner integration with ConnectProf, here are the steps you need to follow:
1. **Account Connections:**
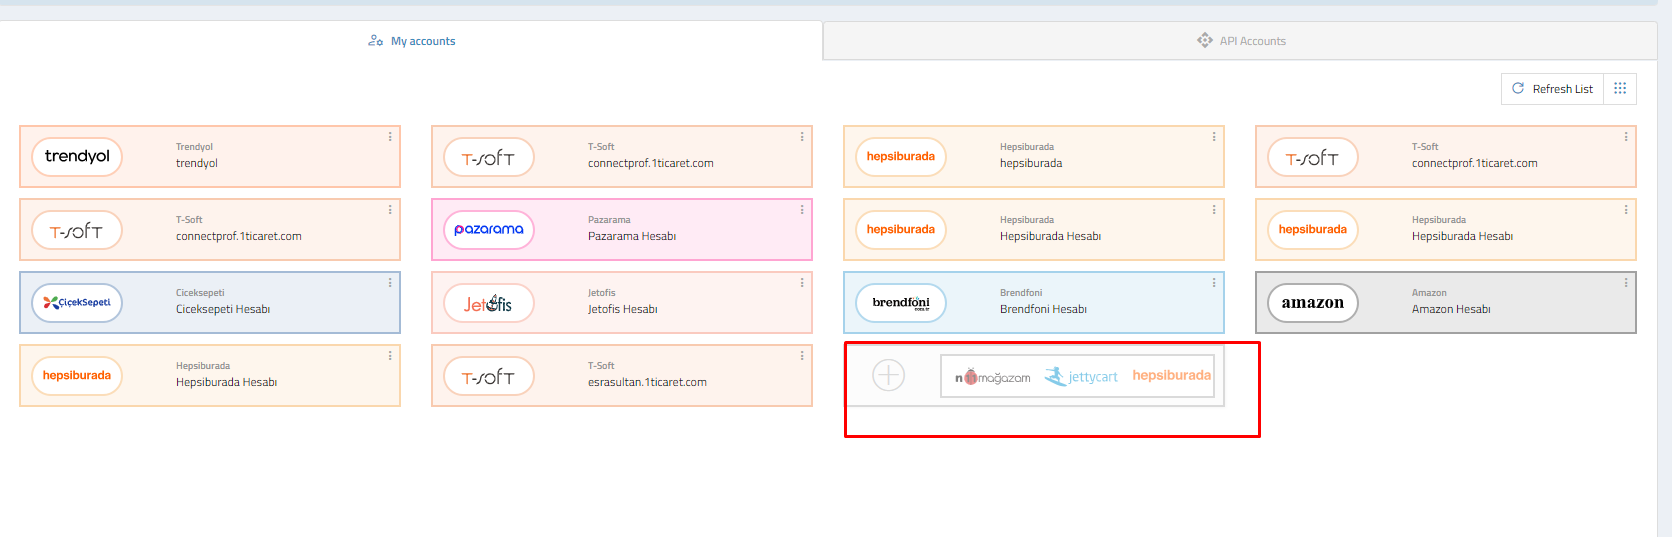
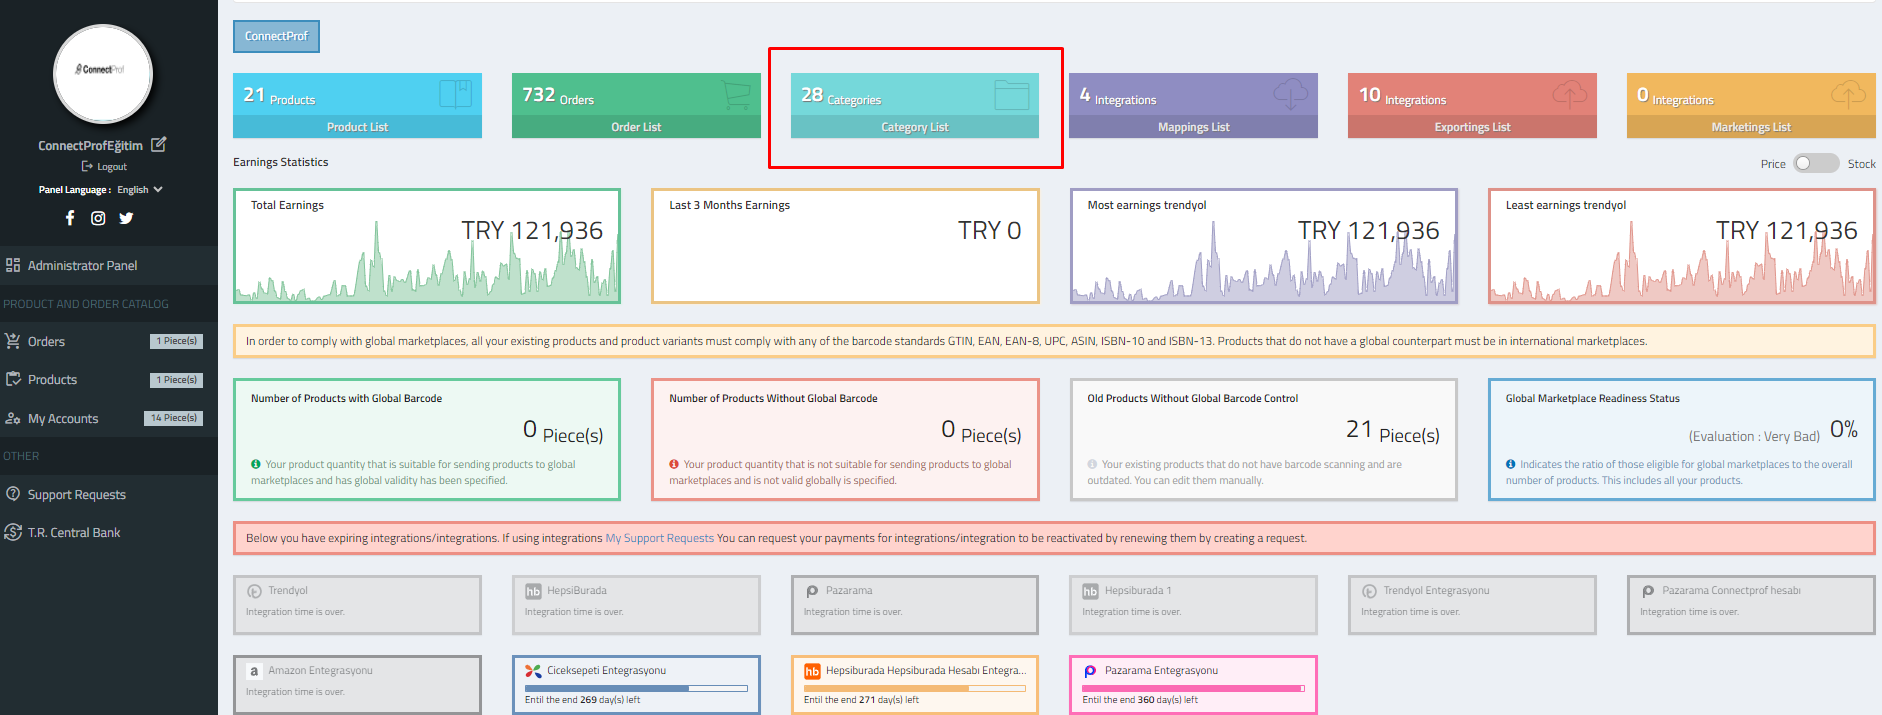
- Access the "Accounts" page on ConnectProf.
- Click on the "Add New Account (+)" button.
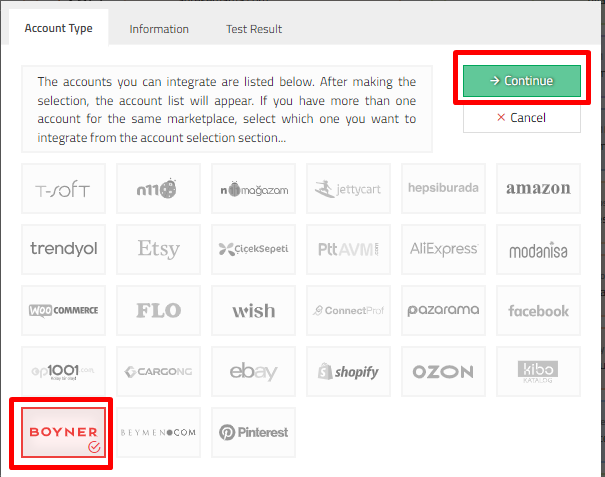
- Select the account type as "Boyner" and click "Continue."
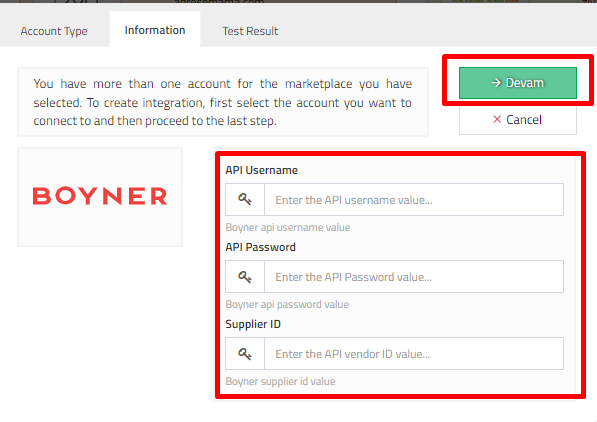
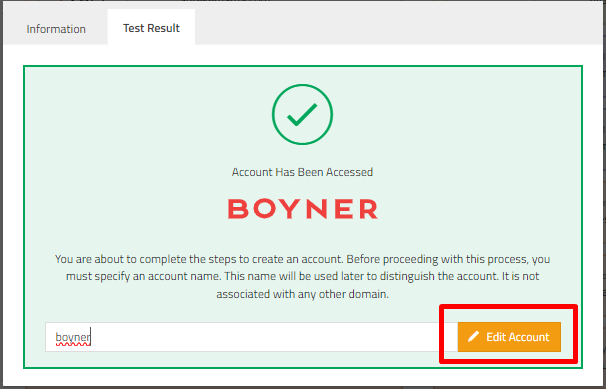
- Enter your Boyner API information and click "Continue."
- The system will redirect you for testing. Successful testing ensures the accuracy of API information and marketplace type.

2. **Account Association:**
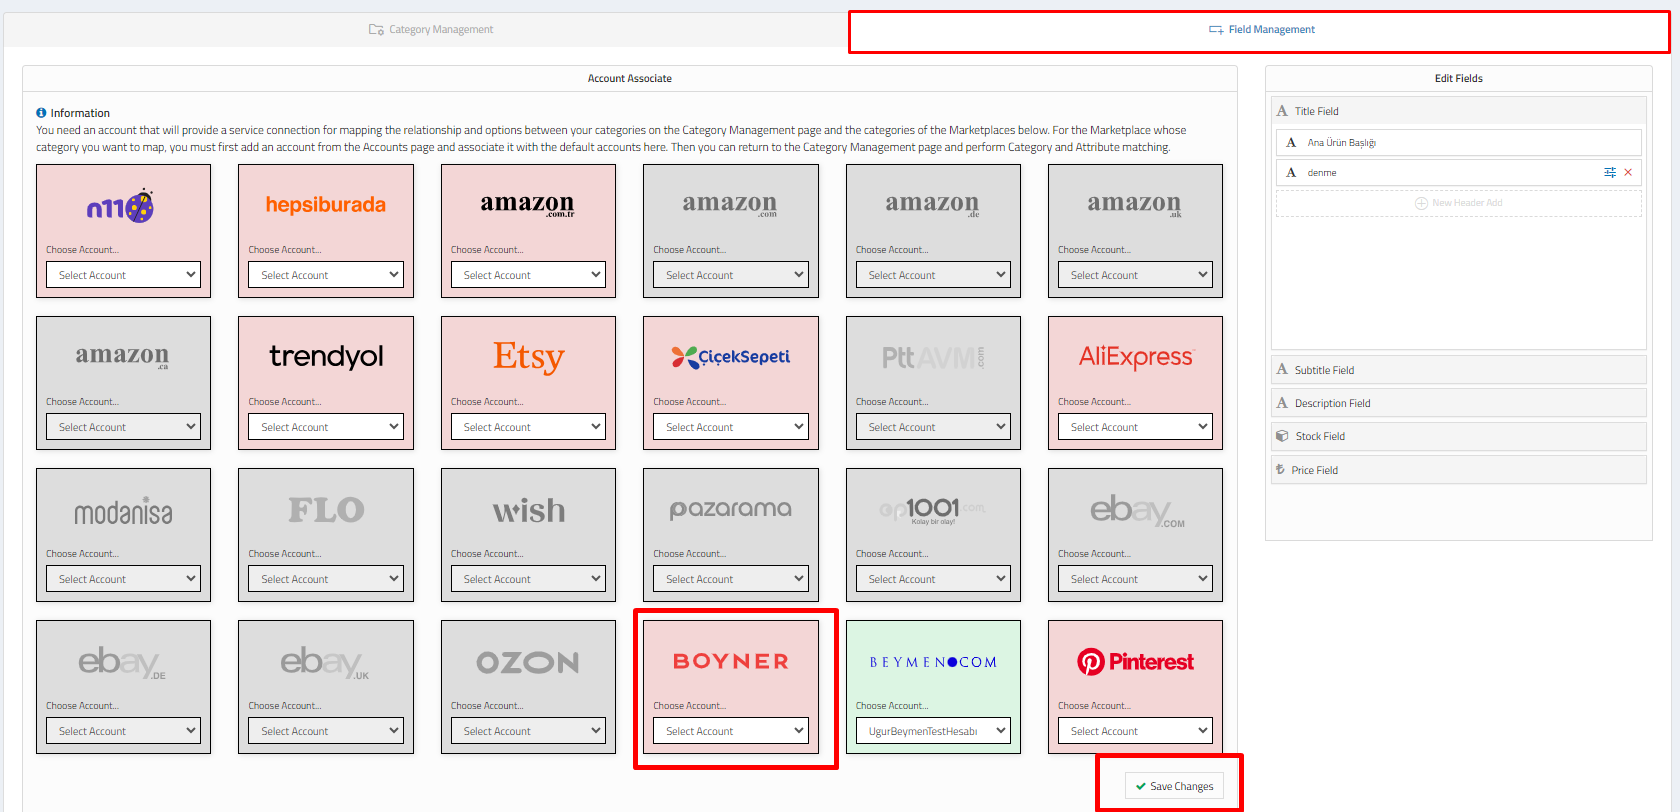
- After adding Boyner API information, associate Boyner with ConnectProf by going to Category List > Field Management > Account Association.
- Choose your added Boyner account and click "Save Changes."
3. **Category Mapping:**
- After completing account connections, perform category mapping.
- In ConnectProf, select the categories in Boyner where you want your products to be listed.
- Ensure that all mandatory fields are filled correctly during category mapping to avoid errors.


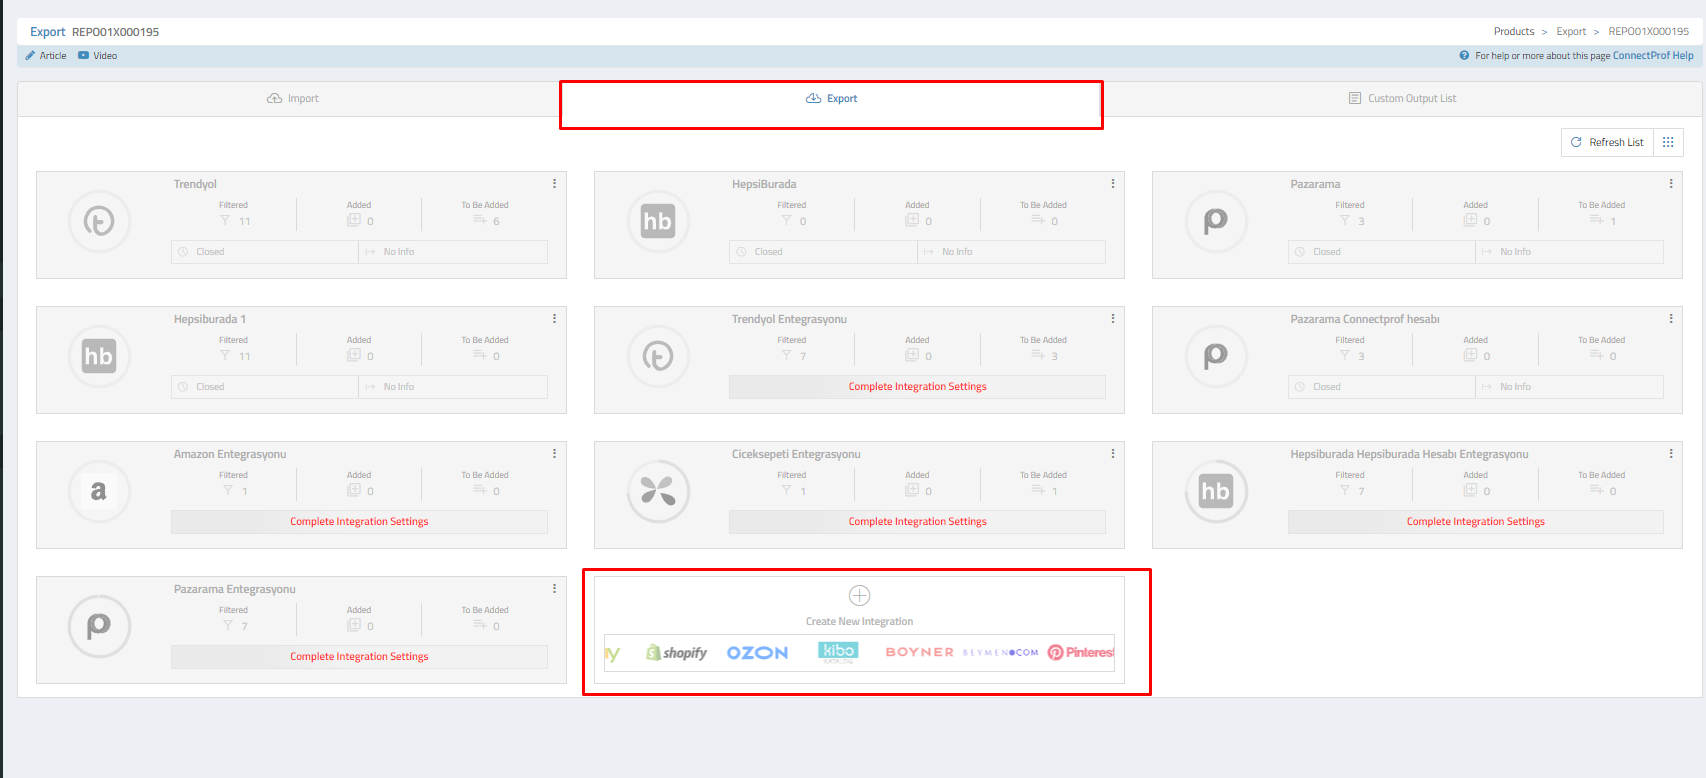
4. **Export Integration Setup:**
- Manage the export of your products from ConnectProf to Boyner through the "Export List" in the admin panel.
- To set up integration, click on the "Create New Integration" button.
- Choose "Boyner" from the Marketplace Selection window.
- Continue with the account selection.
- After clicking "Continue," you'll be directed to the integration creation window.
- Click "Create Integration" to complete the export integration setup.
After the setup, you'll need to add settings for export integration, including general settings, options, commissions, exchange rates, special conditions, exclusions, newly added items, reports, and error groups.
Note: Be cautious while configuring export integration settings, as the added information will affect all products. Ensure that your settings are accurate and complete.
This guide provides a comprehensive overview of the steps required for Boyner integration with ConnectProf.